Biomimetic dentistry in the NHS?
I was asked recently how biomimetic dentistry could be practised within the NHS, and I fluffed the answer. I’ve never worked within the NHS, and I practice in Scotland, where the system is different to the rest of the UK. Due to the time biomimetic restorations take, I assumed the answer was a hard no… but I can’t say it isn’t possible.
Biomimetic restorative dentistry, or BRD, is usually associated with private treatments. I suspect that’s down to how long the procedures take, as well as the material and equipment costs. At The Gentle Touch, a large occlusal takes us about an hour, a Class II an hour and a quarter, and a big composite an hour and a half (which is the same as an onlay/overlay prep).
NHS fees won’t cover that. In Scotland, a three-surface filling pays £37.40, rubber dam included. In England, the UDAs are the same whether it takes twenty minutes or sixty.
But not every part of BRD needs a long appointment. These are the steps I’d bring into NHS dentistry, because they give the biggest gain for the least amount of time (and money).
1. Use rubber dam
It feels slower initially, but it quickly makes treatment faster. No tongue, no saliva, no patient talking(!)
2. Use caries dye
Without caries dye, around 59% of cavities still have caries left in them. This is crucial because caries reduces bond strength significantly. Infected dentine loses between 50 to 75% of its bondability.
Stain for 5 to 10 seconds, wash and remove what’s stained. Repeat until the peripheral 2 to 3 mm of the cavity is free of pink and red. That peripheral rim needs to be caries-free and crack-free to achieve optimal bond strengths.
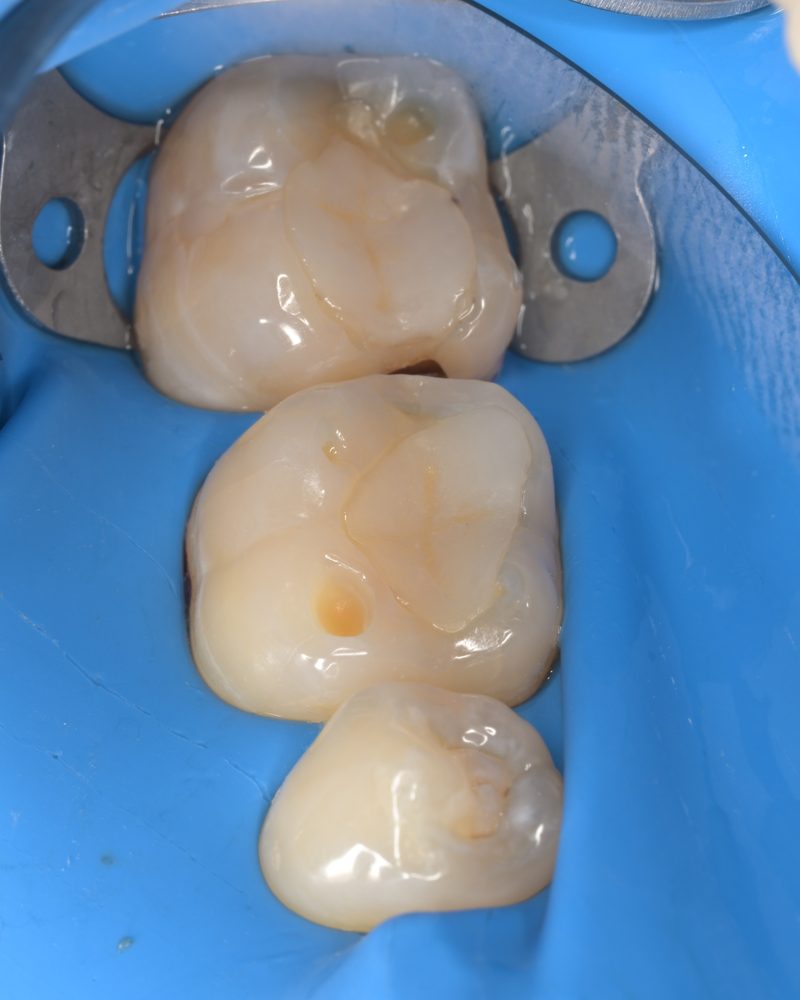
Mesial cavity 47m and large occlusal composite
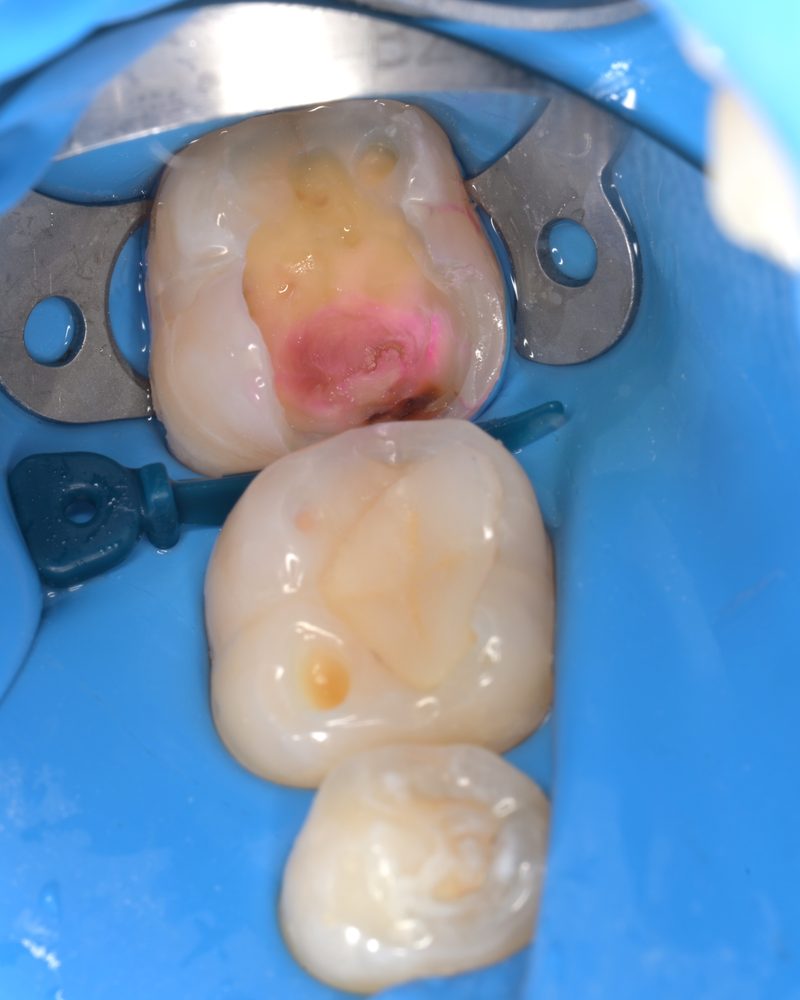
3. Know where to stop by measuring
You don’t need to spend time chasing all the stain. Stop at around 5 mm from the occlusal surface or 3 mm from the adjacent tooth. This way, pulp exposures are largely avoided.
Stain left in the centre, near the pulp, can remain. Once it’s sealed, it either remineralises or is sealed and far more pulps remain vital.
4. Swap your steel bur for a diamond
Steel burs leave a thicker smear layer that’s hard to bond to. Lab evidence tells us that dentine prepared with a steel round bur bonds at around 21 MPa, against around 35 MPa for a finer, more uniform finish. A medium grit round diamond gives you a better surface, so air abrasion isn’t essential *when using etch (more later).
5. For optimal outcomes, use a self-etching adhesive (especially for deep cavities), BUT the quicker and more cost-effective universals can work
Universals are quickest. Selectively etch the enamel, then give the dentine a very brief etch, around 3 to 5 seconds. We don’t want to remove all the remaining hydroxyapatite and destroy the already caries-damaged tubules.
Most universals don’t deactivate MMPs, enzymes that degrade the bond and can reduce bond strength by around 30% within a year. Applying 0.2% chlorhexidine to the cavity before bonding sorts that.
**Top tip. When using universals, apply the bond layer twice to thicken the film layer.**
6. Add a thin layer of flowable
‘Paint’ a thin layer of flowable, 0.5 to 1 mm, around the dentine. I use Majesty ES Flow, but any flowable will work. It’s a quick step and acts as a buffer to composite shrinkage. No ‘liner’ needed becasue the dentine is completely sealed!
7. Spend the time on this step
The dentine bond takes around five minutes to mature (the timer starts when you cure the bond). A common cause of post-op sensitivity is due to composite contraction stressing the immature bond and causing gaps to form. But you can put this time to good use. In a large restoration, sort the matrix and apply the thin flowable layer. If it’s a Class I or V, get a drink or do your notes.
8. Build in flat layers
Build the composite in flat layers, and don’t let an increment connect different parts of the tooth. Dentine layers stay in dentine, enamel within enamel. That keeps contraction stress away from the more vulnerable parts of the tooth.
The real time saver
Knowing which teeth can be quick. A cavity mostly within enamel or superficial dentine is forgiving, because superficial dentine has more hydroxyapatite and is easier to bond to. Same with a low C-factor (plate/ flat bowl shape).
A deep cavity with a high C-factor is where taking time saves the tooth and minimises the patient symptoms. Restore the tooth quickly and you get post-op pain due to composite shrinkage and failed bond. Get it badly wrong and you get teeth that don’t recover, or the filling fails. Either way, the patient will return.
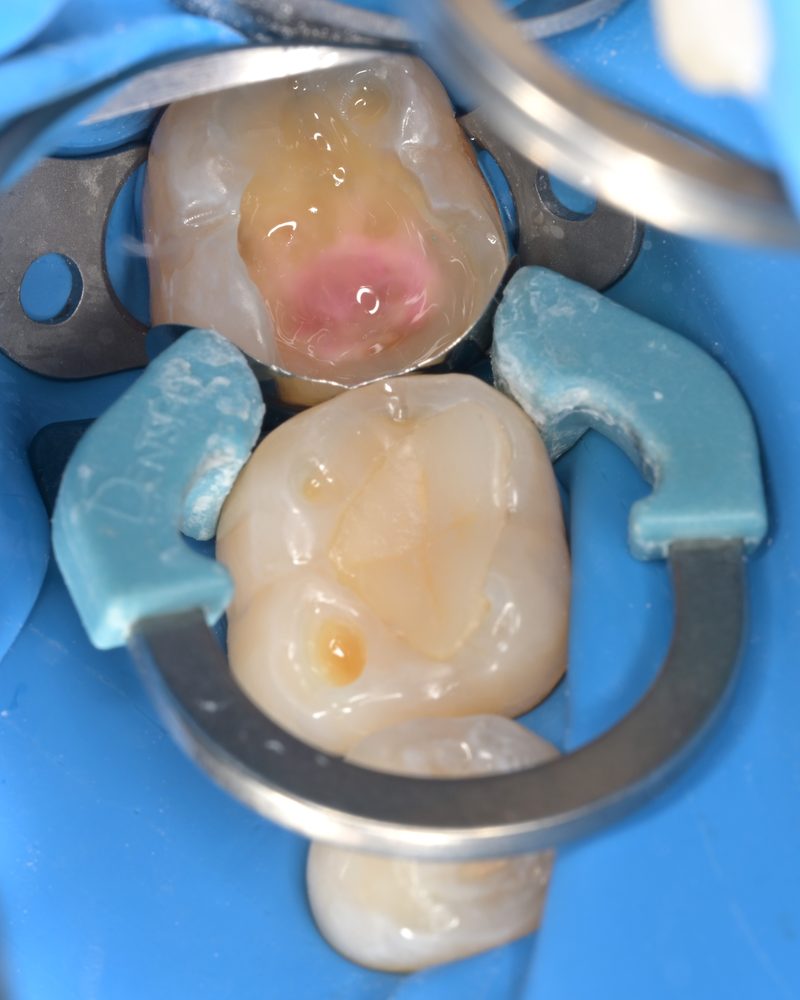
IDS done & five mins passed whilst matrix placed
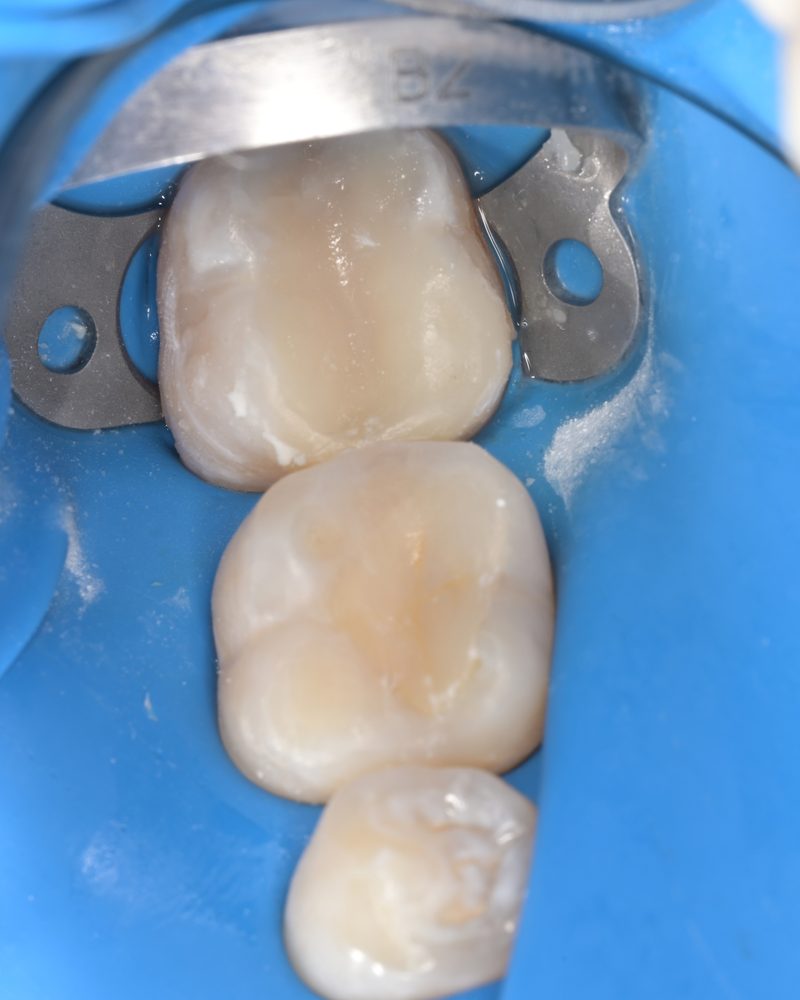
In summary, know when you can be quick, and when going slow is worth the time
Any questions, get in touch! Thanks, Amber